In order to stick broken pottery together in kintsugi processes, we make a natural adhesive called "Mugi-Urushi" (麦漆). This article answers to the questions we often receives from our customers regarding Mugi-Urushi and how to stick broken pieces together.

Which flour is best for making Mugi-Urushi?

We, Tsugu Tsugu recommend the use of light flour for kintsugi practice.
Empirically, the reason is that light flour is easy to knead and its viscosity is just right.
However, none of the three types of flour is wrong, as some kintsugi artisans use medium or strong flour.
When ceramic or porcelain is broken, there will be a little gap between the pieces when gluing them together, so we mix flour with raw lacquer, which is a liquid, to make it a little thicker. In result, the adhesive becomes a texture similar to chewing gum. We do not recommend using flour with large grains, as it may cause unnecessary thickness and the pieces may shift from each other.
Tsugu Tsugu also offers glass kintsugi classes. When gluing broken pieces of glass together, we do not use flour, but use a special type of lacquer for glass. (Raw lacquer, which is included in Tsugu kits, is not designed for repairing broken glass. Regular raw lacquer cannot bond glass.)

Similarly, in some cases, when the surface of porcelain is very thinly peeled, it may be glued with lacquer only, without the addition of flour.
Can I use rice flour instead of wheat flour when making Mugi-Urushi? (I’m allergic to wheat flour)

We often receive these inquiries from people who are allergic to wheat flour and cannot use wheat flour by any means and want to use rice flour instead.
Basically, Tsugu Tsugu does not recommend rice flour because rice flour does not contain gluten, which makes the adhesive sticky.
However, some kintsugi artisans use rice as an ingredient, so we believe that it is not impossible to use rice flour as a substitute for wheat flour. Some craftsmen make Mugi-Urushi by adding wheat flour, Joshinko (上新粉, a type of rice to make rice cake) and water, and then adding raw urushi.
We have not found any literature comparing the difference in strength between Mugi-Urushi using rice flour and using wheat flour, so we do not know the details and cannot make a comparison. However, we believe that it is possible to glue pieces together even if rice flour is substituted for wheat because basically, lacquer has an adhesive effect and wheat and rice flours are used to make it stickier.
The amount of rice flour and wheat flour substituted also varies from artisan to artisan, so you will need to get the consistency just right. Please experience it yourself to find the right amount.
Do I have to add water when making wheat lacquer?

The method of making Mugi-Urushi varies among kintsugi artisans.
Tsugu Tsugu’s method to make Mugi-Urushi is by mixing flour, water, and raw lacquer, but some artisans do not add water. They only mix flour and raw lacquer.
The reason is that raw lacquer also contains some amount of water.
Raw lacquer is the sap from the lacquer tree from which the debris has been removed, and it contains 20-30% water.
When making Mugi-Urushi without adding water, adjust the amount of raw lacquer so that the Mugi-Urushi has the right consistency.
Is it possible to stick broken pieces together using only lacquer without adding flour?

If only the surface of the vessel has been thinly cracked (especially if only the glazed portion has peeled off), Mugi-Urushi is too thick so that it may cause the gap between pieces instead of sticking together perfectly.
In such cases, only the lacquer could be applied to glue the pieces together, without flour.
For the same reason, when repairing kintsugi from broken glass, we do not use Mugi-Urushi with flour, but only lacquer. This is because there are no gaps in the cross section of pieces of glass, and it must be sticked perfectly.
FAQ about Kintsugi Step 2A: Sticking Pieces Together with Mugi-urushi
Is it better to stick all the pieces at once or a few at a time?

There is no right or wrong answer, as it depends on the size of the vessel and the case.
However, we have some recommendations depending on the following conditions.
[Case 1] The vessel is broken into 2-3 pieces or many small pieces in a small area.

In such cases, it is faster to glue them all at once. If you glue them separately little by little, there is a possibility that the angles will not be perfect and they will be misaligned.
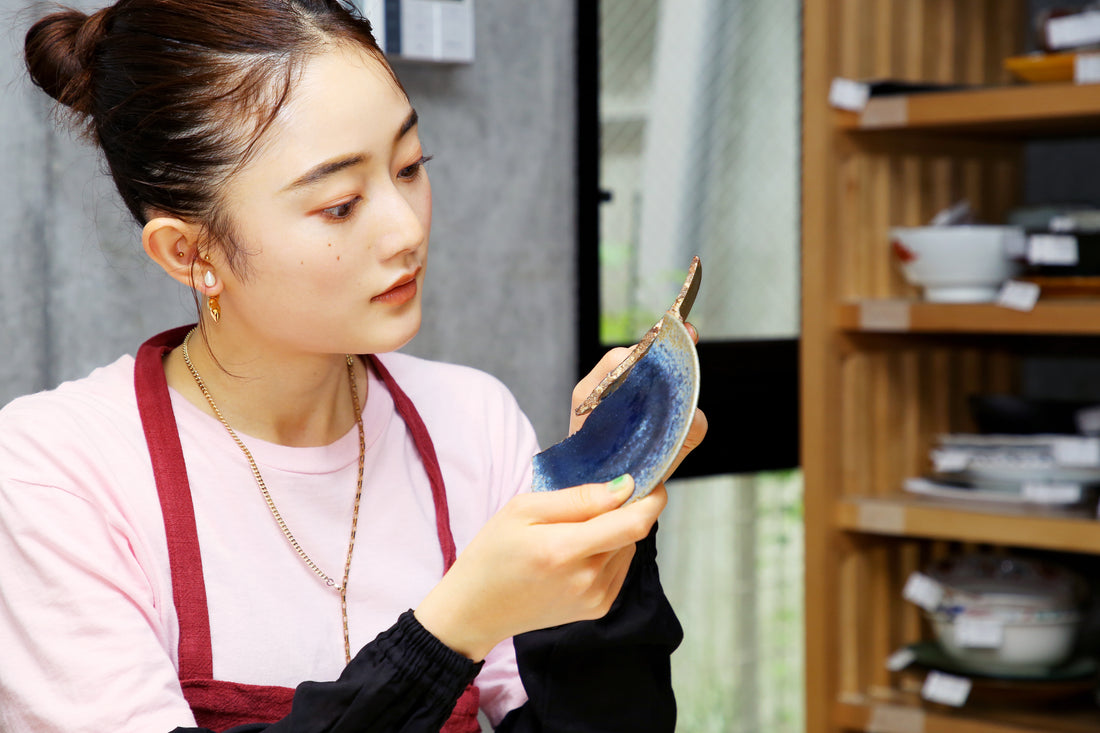
[Case 2] A large or heavy vessel is broken into many pieces.
It is recommended to glue only two pieces together several times.

The photo above shows a large, heavy vessel, over 25 cm in diameter, that was broken into 21 sections.
In such cases, if you try to glue them all together at once, they are too heavy and have strong forces to shift.
The more divisions there are, the more areas are covered with Mugi-Urushi, which means that there are too many areas to be careful of, and the risk of touching the Mugi-Urushi increases. The more divisions there are, the greater the risk of touching the Mugi-Urushi.
Therefore, gluing them together in batches (two pieces at a time) prevents the Mugi-Urushi from sticking to the hands.
However, the most important point to keep in mind when gluing in several batches is the order in which they are glued.

If the pieces are glued in the wrong order, some pieces may not fit together at the end. This is called “Draft Angle”. make sure to glue the pieces in a way that the next piece will fit.
As long as you take care of that, it doesn’t matter if you glue small pieces together first or large pieces together first.
After gluing the pieces together, make sure to use masking tape (or your scotch tape) to temporarily fasten all the pieces together very tightly, even though the other pieces are not applied with Mugi-Urushi.
This is to prevent gluing that batch at the wrong angle. The correct angle can only be determined by fixing all the pieces (even some pieces are not applied with Mugi-Urushi). Please confirm if the angle of each piece is perfectly right and there are no gaps by touching it over your rubber gloves.
Questions from our our customers:
"I received a Tsugu kit and am working on a small dish 3 inches in diameter. Unfortunately, I applied too much Mugi-Urushi and the dish has stains all over it. When I try to wipe off the stains, the broken pieces shift."
Here is the answer.
Perhaps the vessel consisted of many pieces. In such a case, it is also better to apply the Mugi-Urushi only on each grouping of two pieces. Also, if you try to wipe off the Mugi-Urushi when it is not yet dry, there is a high risk to shift, so unless you are very skilled, leave the lacquer stains all over the dish and first dry it in a urushi drying chamber for 1 week.
After the Mugi-Urushi is completely hardened and you are sure that it will not shift again, gently remove the masking tape and wipe off the stain. If you wipe off the lacquer immediately, you can do so with ethanol on a tissue or cotton swab, but Mugi-Urushi after 7 days will not come off so easily. Scrape the stain off with a utility knife or sand off the stain with water with waterproof paper No. 1000, which will be used later in the process.
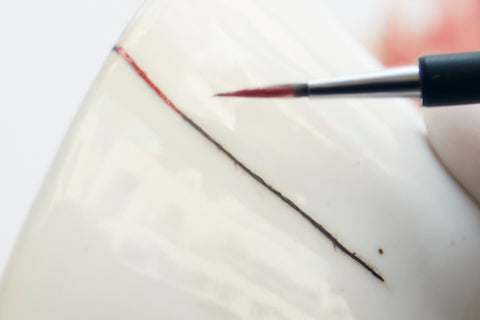
How to apply masking tape properly?

Make sure to apply the masking tape across the seam of the breakage. Do not cover all the seams with the tape.
This is to let the Mugi-Urushi come into contact with air. Since urushi lacquer hardens when it combines with moisture in the air, if Mugi-Urushi is covered with masking tape, it will not be exposed to air and the inside of the vessel will not harden firmly.
Why do I have to leave the broken pieces in the urushi drying chamber for a week when I stick them back together?
It takes a longer time for Mugi-Urushi inside the broken vessels to come into contact with the air.
As mentioned earlier, urushi lacquer hardens when it combines with moisture in the air. Because air cannot penetrate from the outside to inside of the vessel so easily, it takes a long time to dry Mugi-Urushi.
For the same reason, the deep cracks should be left in a urushi drying chamber for a week when raw urushi is soaked into the cracks to solidify for waterproofing.

On the other hand, in a process where urushi lacquer is applied only to the surface of the vessel, it is said to dry in about at least 8 hours under optimum conditions in the urushi drying chamber. The application of “Kokuso” (in step 2B) and “Sabi-Urushi”(in step 3) will also dry within a day if you apply it thin enough with a thickness of 0.5mm to 1mm.
Even when we are in a hurry, we sometimes apply urushi twice in one day: early in the morning and dry it in a urushi drying chamber, then take out at night to sand and lacquer again.
However, if you are a beginner in kintsugi or are not confident if the temperature and humidity in the urushi drying chamber (box) you have created will be maintained perfectly over the time, please be sure to dry it as long as possible. It is totally fine if you keep your lacquered items in the urushi drying chamber longer than the instruction manual says.
Hope this article helps!
We will add more Q&A when we receive questions from our customers :) -Yuki